Old Darkroom Tricks
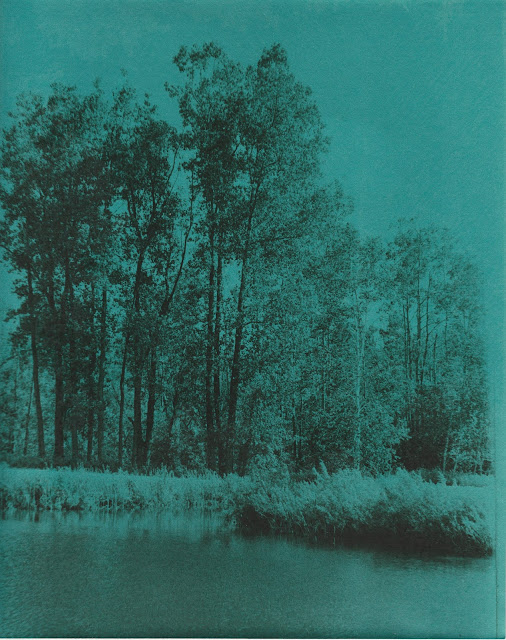
Early on, someone either sold or gave me two or three 20 or 25 sheet packages of metallic finish black and white paper in as I recall blue, green, and I think there was a gold or silver. This was traditional silver gelatin paper, on a paper base, but in a colored metallic finish. It was not for everything, but the for the right image it created a striking print. As I recall it was either Chinese or German in manufacturer. (Somehow I think it was Seagull a photography supplier in China, possibly imported through Europe.) This was the mid 1970's.
This is a basic black and white negative, printed on that paper. I know I also printed some infrared black and white film on this paper, someplace there is an image of the pear tree in my grandmother's front yard in bloom, in infrared, printed on this same paper. Talk about turning the expected colors inside out.
Today we would manipulate the image digitally for a one of a kind result.


Comments
Post a Comment